


VPS
Linux VPS
Windows VPS
OpenVZ VPS
Forex VPS Hosting
Dedicated Hosting
Hosting
Web Hosting
WordPress Hosting
Windows Hosting
Web Hosting For Agencies
Use Cases
Hosting Solutions
Linux VPS
Windows VPS
OpenVZ VPS
Dedicated Servers
Server Deals
Cloud Backup
Servers For Agencies & Reseller
Resources
Rent-A-Server
Cloud
Data Center Designer
Customer References
Cloud Solutions
Compute Engine (IaaS)
Managed Kubernetes
Backup
Our Strengths
Data Backup & Disaster Recovery
Digitalization for SMEs
On-Premise vs Cloud Computing
Domains
Domain Names
Domain Transfer
SSL
SSL Certificate
Company
About Us
Data Centers
Personal Consultant
Website Checker
Favicon Generator
SEO Checker
Whois Lookup
SSL Checker
IP Address Checker
Domain Check
Partner Programs
Partner Program
Affiliate Program
Partner Network
Referral Program

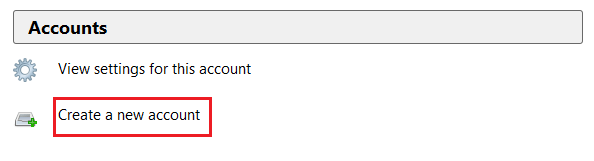
4. And, Choose “Skip this and use my existing email”.
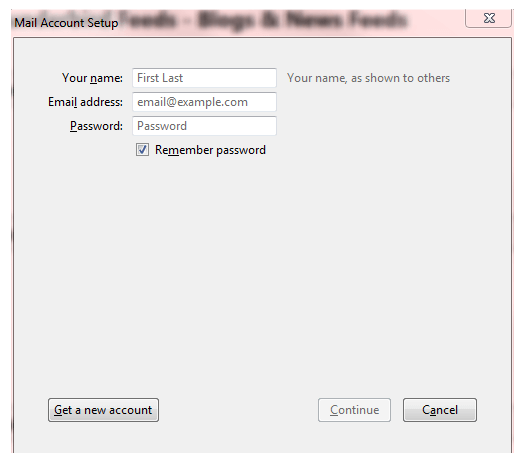
5. Enter Your Name, complete your Email Address and password and click “Continue”.
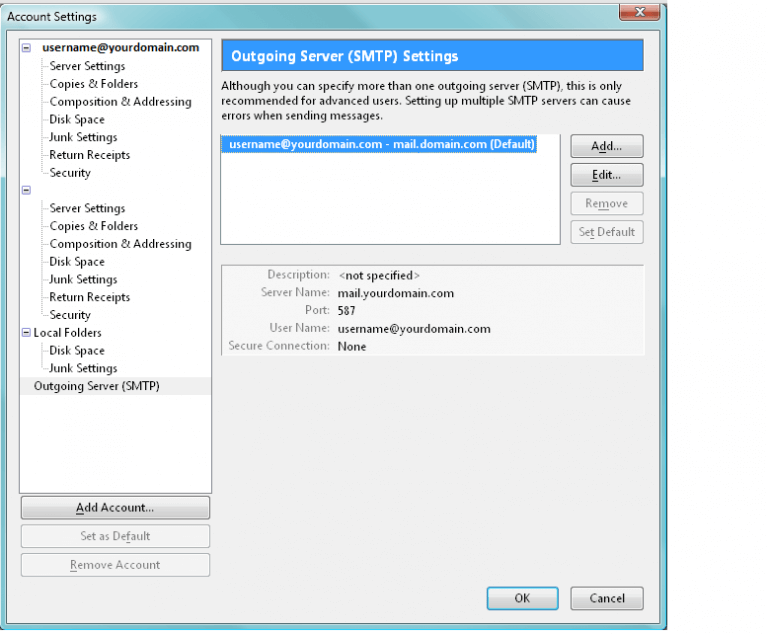
7. And, Select the type of incoming server: IMAP.
8. Enter the name of your incoming and outgoing mail server: mail. (enter your domain name) with Port number 143.
9. Fill the Username with full email such as [email protected]
Check this out to learn more about how to Get a Full E-mail Header in Mozilla Thunderbird.