How To Create Domain at Cloud DNS Zones
1. Log into our cloud hosting control panel with your login credential.
2. At Dashboard, click DNS Hosting and then the DNS hosting product name at the next page.
2. At Dashboard, click DNS Hosting and then the DNS hosting product name at the next page.
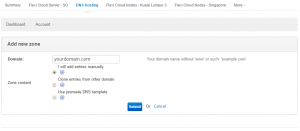
3. At the next page, click Add new domain.
4. Then, enter your domain name. The control panel will submit the request and add the domain name.

5. Return to the DNS hosting product page again and click the new added domain name.
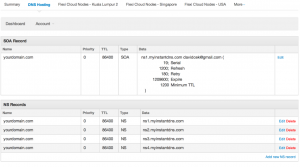
6. You are allowed to add following records at the next screen.
– A
– AAAA
– CNAME
– MX
– TXT
– NS
– SVR

Below is the DNS you should apply to your domain name.
ns1.myinstantdns.com : 69.168.228.3
ns2.myinstantdns.com : 69.168.229.3
ns3.myinstantdns.com : 69.168.230.3
ns4.myinstantdns.com : 69.168.231.3

