
VPS
Linux VPS
Windows VPS
OpenVZ VPS
Forex VPS Hosting
Dedicated Hosting
Hosting
Web Hosting
WordPress Hosting
Windows Hosting
Web Hosting For Agencies
Use Cases
Hosting Solutions
Linux VPS
Windows VPS
OpenVZ VPS
Dedicated Servers
Server Deals
Cloud Backup
Servers For Agencies & Reseller
Resources
Rent-A-Server
Cloud
Data Center Designer
Customer References
Cloud Solutions
Compute Engine (IaaS)
Managed Kubernetes
Backup
Our Strengths
Data Backup & Disaster Recovery
Digitalization for SMEs
On-Premise vs Cloud Computing
Domains
Domain Names
Domain Transfer
SSL
SSL Certificate
Company
About Us
Data Centers
Personal Consultant
Website Checker
Favicon Generator
SEO Checker
Whois Lookup
SSL Checker
IP Address Checker
Domain Check
Partner Programs
Partner Program
Affiliate Program
Partner Network
Referral Program

1. Go to Customer Portal, then log in with your email address and password.
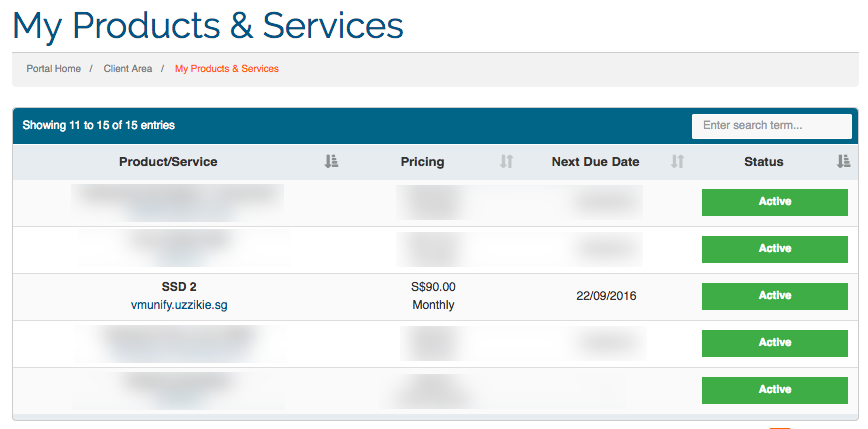
2. Click on “My Products & Services”, followed by the Windows SSD Plan product.
e.g. SSD 1, SSD 2, etc
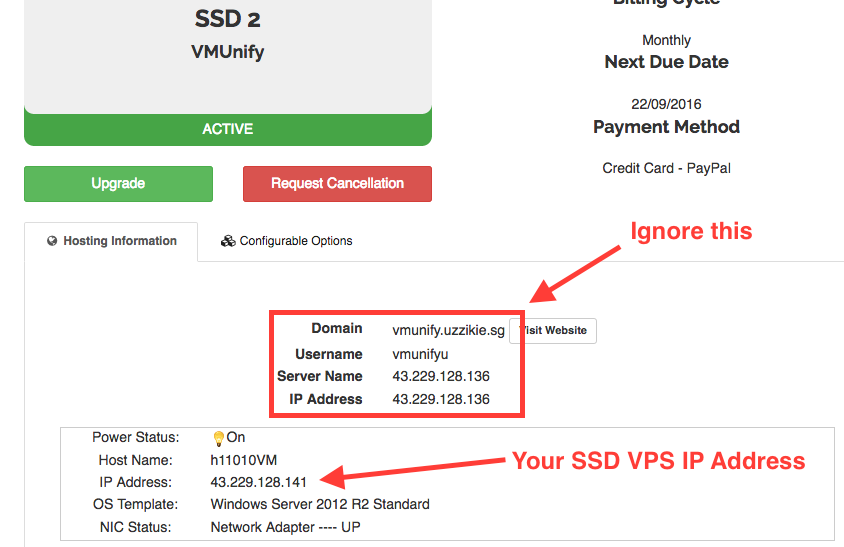
3. Scroll down the webpage to the bottom where you can see your VPS details.
Ignore the portion that says
Server Name: 43.229.128.136
IP Address: 43.229.128.136
(see image below)
Your VPS IP Address is shown together with the Power Status
If you are looking for more information related to VPS, you can visit our Knowledge Base.